



![[BIC2026] Hiroaki Nagashima from Toei Games Talks New IPs, Indie Roots, and Asia-First Strategy](https://cdn.gamerbraves.com/2026/08/Toei-Games-BIC-2026_Interview_FI-360x180.jpg)
![[BIC2026] From Outsider to Organizer: How Isabella Seo Jungsook Helped Build Busan’s Indie Game Scene through BIC](https://cdn.gamerbraves.com/2026/08/Isabella-BIC-2026_Interview_FI-360x180.jpg)
![[BIC2026] CanOpener’s Logan Moon Opens Up About Dungeon Settlers Ahead of Its September Early Access Launch](https://cdn.gamerbraves.com/2026/08/Logan-Moon-BIC-2026_Interview_FI-360x180.jpg)
![[EXCLUSIVE] From PlayStation to Indie Advisor: Shuhei Yoshida Talks Games, AI, and the Future of the Industry](https://cdn.gamerbraves.com/2026/08/Shuhei-Yoshida-BIC-2026-Exclusive_Interview_FI-360x180.jpg)
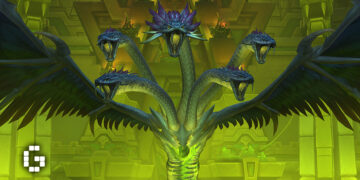

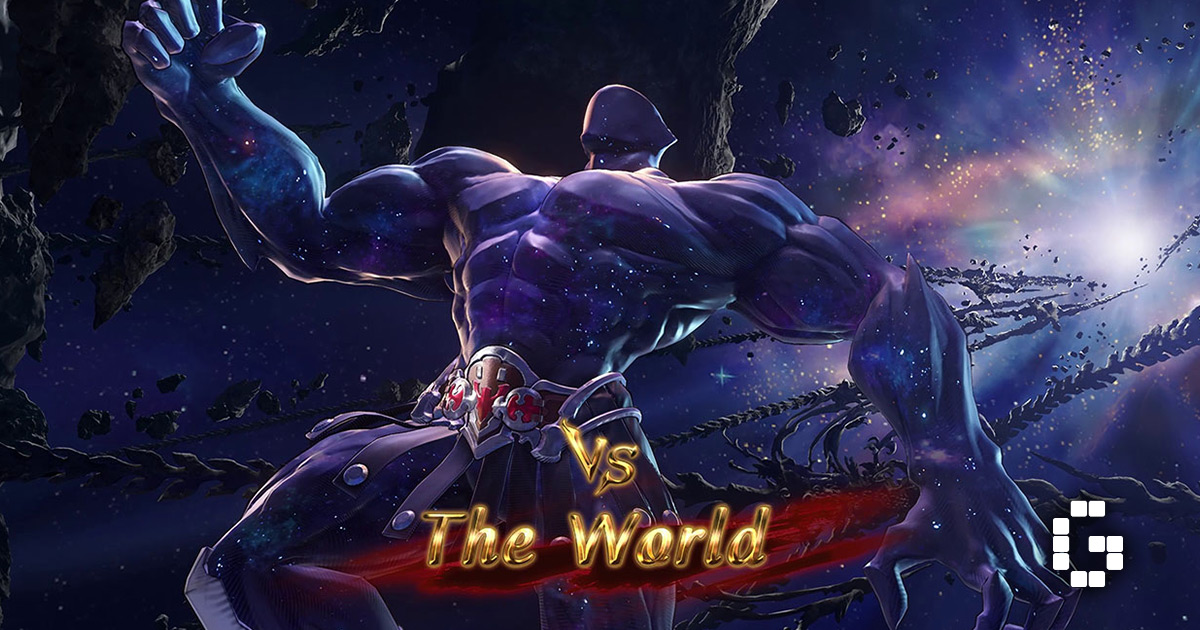
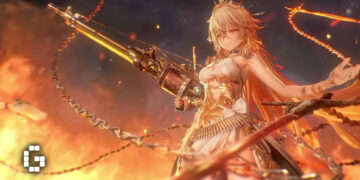
The World is one of three major bosses added in Granblue Fantasy: Relink – Endless Ragnarok, standing alongside Beelzebub and Omnis Zegalith as one of the toughest fights in the game. It’s not a boss you can just walk into either, since getting here takes real preparation, and the fight itself throws a lot at you once you arrive. Between the two distinct phases, the constant Arcana card mechanics, and attacks that can kill you in a single hit, this is a fight that demands you stay sharp from start to finish. Here’s a full breakdown of what to expect and how to get through it.
Getting To The Fight
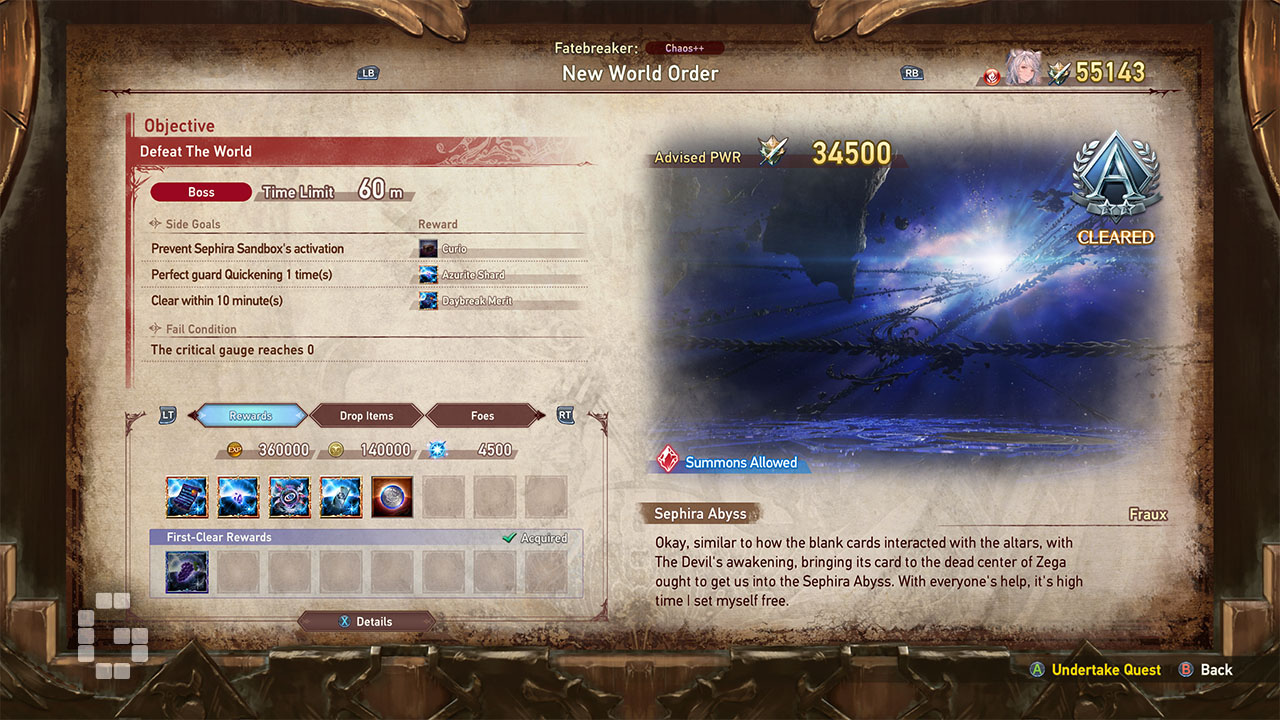
Before you can even challenge The World, you need to finish Fraux’s main questline. Fraux is one of the new playable characters added in this expansion. This boss only unlocks through the quest “New World Order” on Chaos++ difficulty, so you’ll need to clear a good amount of Chaos and Chaos+ content first. The recommended PWR is 34,500, which puts it near the endgame of Endless Ragnarok.
Because endgame content in Relink hits hard, and almost any attack here can kill you in one hit, it’s worth leaning into defensive Sigil traits instead of going all in on damage. Guts, which lets you survive a fatal hit with 1 HP, and Autorevive, which revives you without using a potion, are both solid picks for this fight.
Opening Phase
The World starts with two HP bars. The first one is yellow, and it’s not just for show, it actually marks the split between two very different phases of the fight.
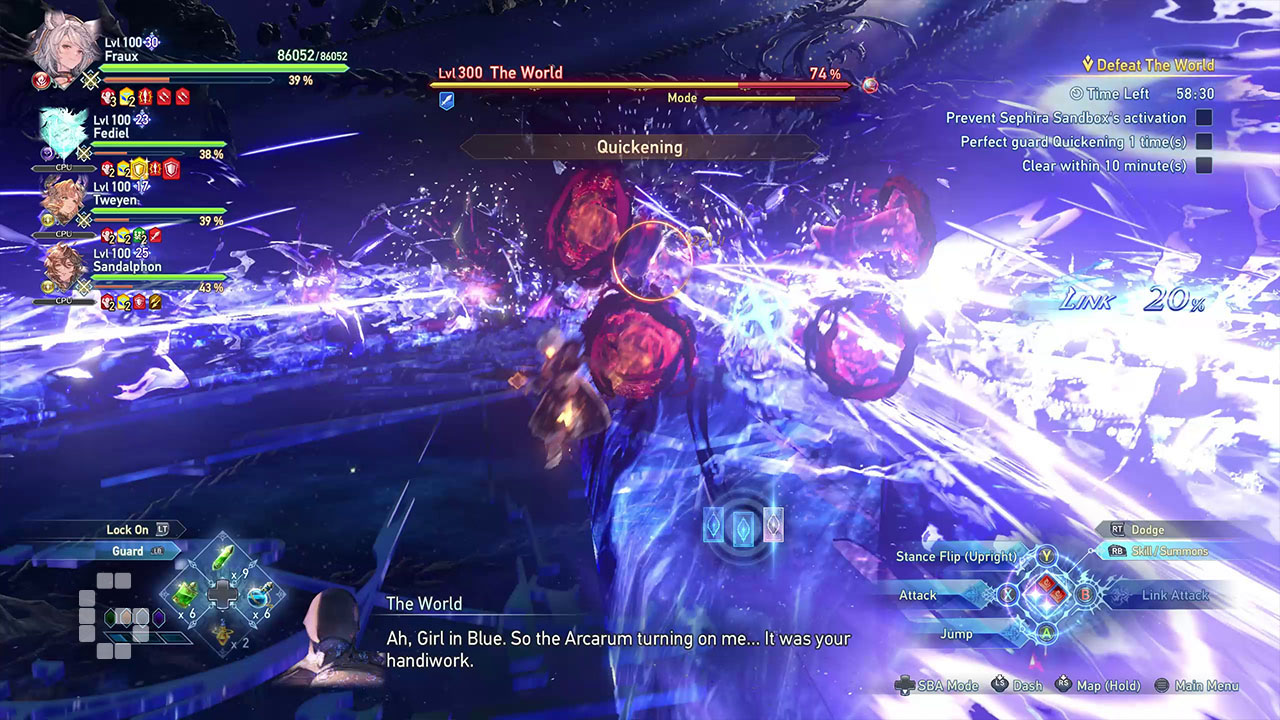
The opening phase is the easier of the two. Most attacks are readable and not too oppressive. Right from the start, The World uses “Quickening,” a fast three-way projectile attack. You can perfect guard this to land a stun counter on the boss, and pulling it off successfully counts as one of the side goals for extra rewards.
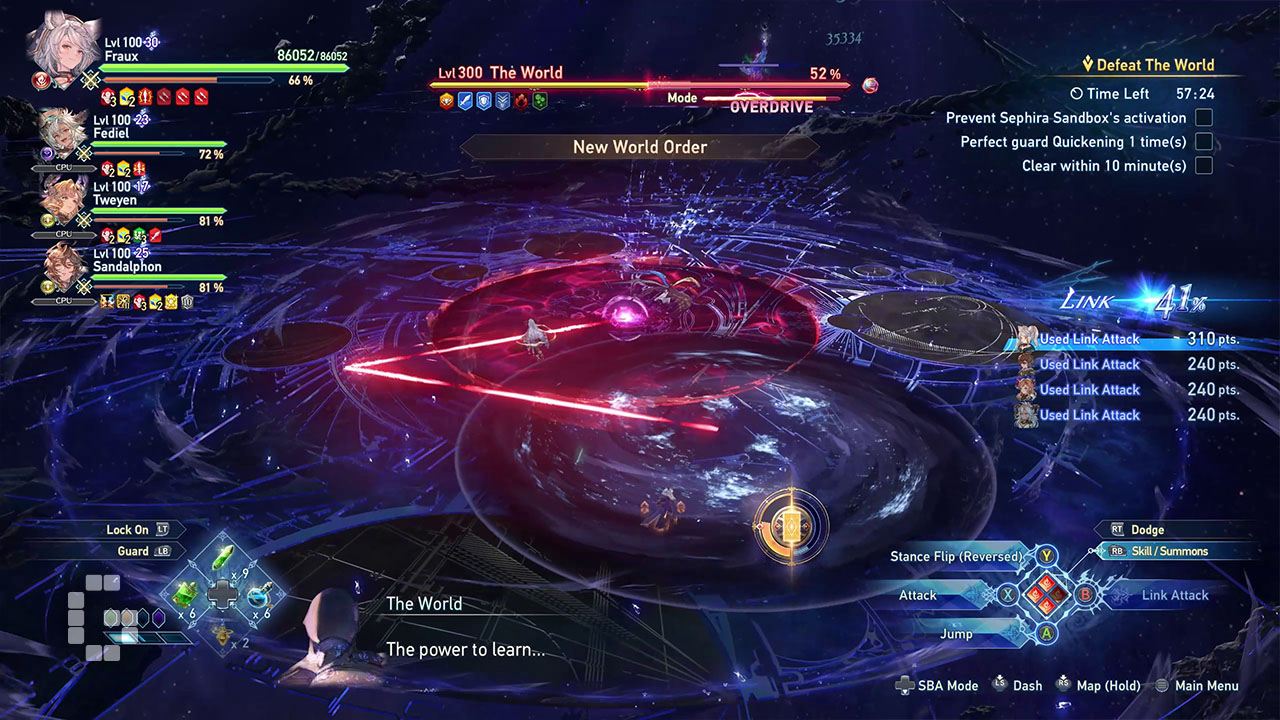
He’ll also use “New World Order,” a moving AoE attack that follows a pattern like constellation lines. It looks confusing at first, but you just need to stay out of the areas the lines pass through. If you’re having trouble reading it, just move with your AI companions or party members.
Next is “Shooting of The Star,” where The World throws a barrage of punches into the middle of the arena, cracking the ground around it so it explodes. This one’s easy to dodge since you just need to keep moving without blocking or dodging, but the damage is still high if you get caught.
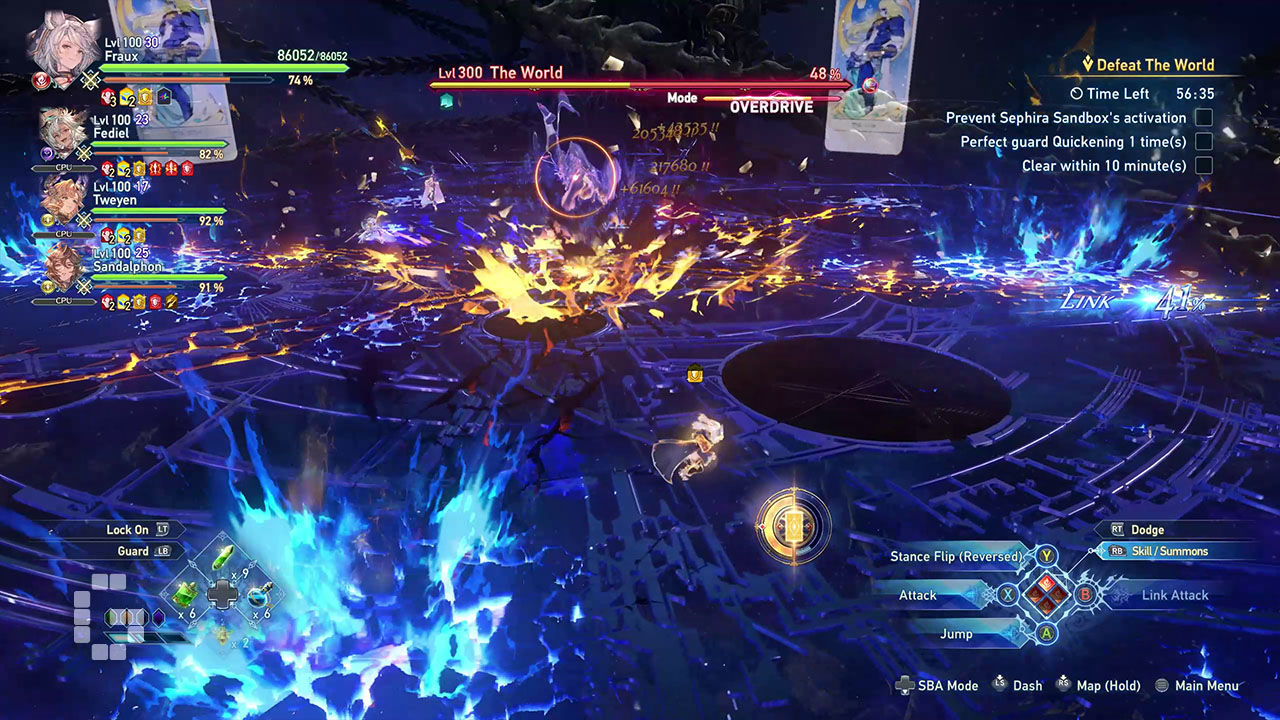
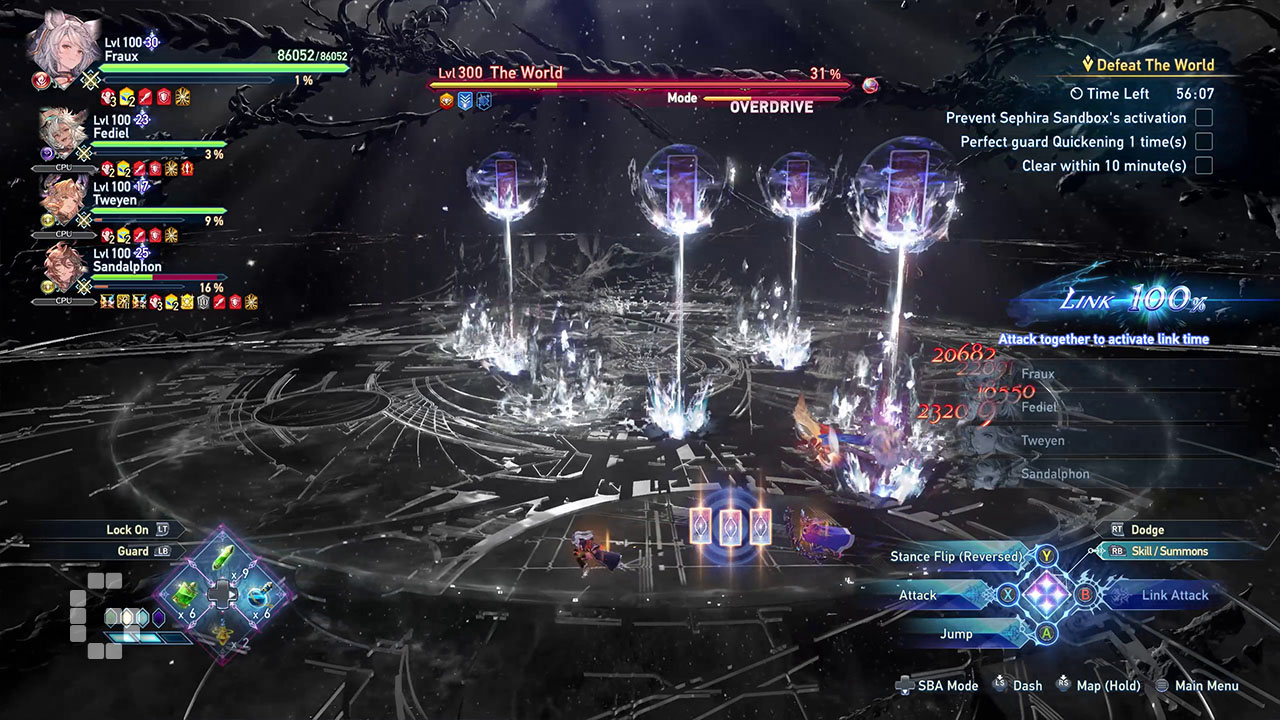
When his HP gets low in this phase, he casts “Sephira Sandbox.” He summons four Arcana cards that fire lasers, and the attack ends with a big AoE burst. The lasers are easy to dodge, but you need to destroy all four cards to cancel the attack before it finishes.
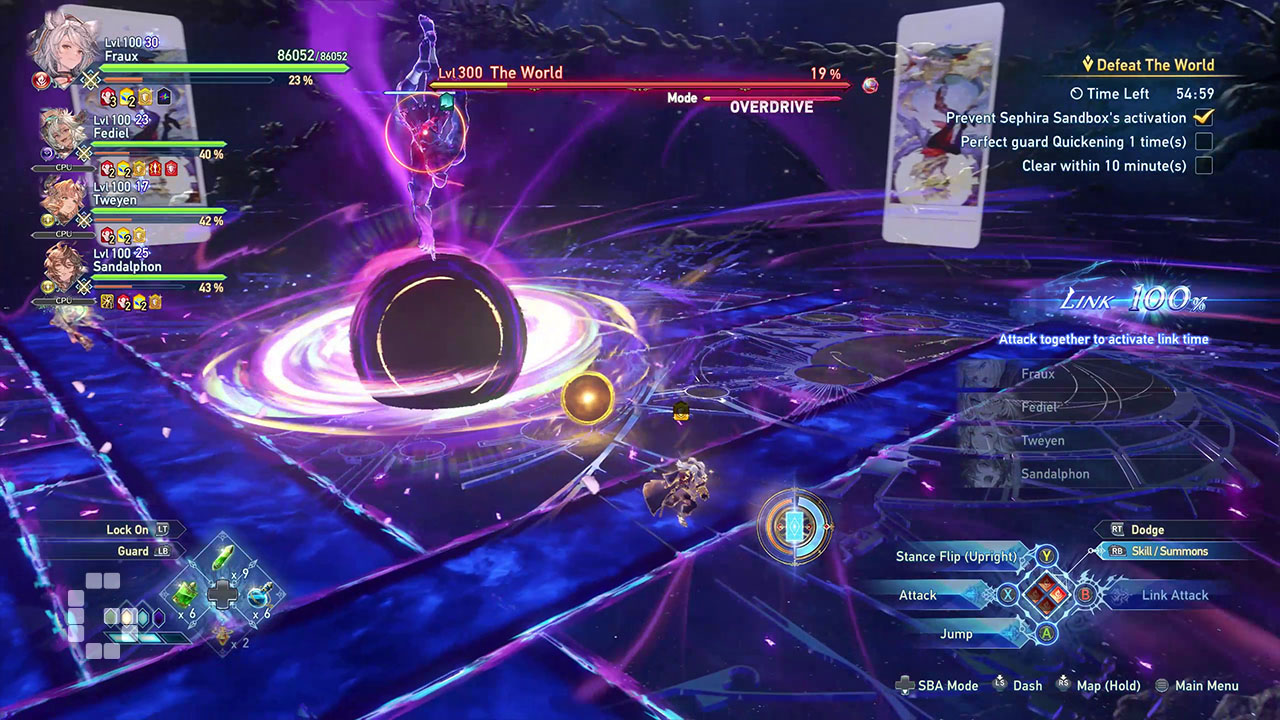
After that comes “Binds of The Hanged Man.” The World moves to the center of the arena and spawns a black hole that fires projectiles and linear AoE attacks. The black hole limits your movement, but staying outside the AoE zones gets you through it fine. The tricky part is the yellow orb projectiles circling the black hole, since their paths can be unpredictable.
Transition Phase
Once the first HP bar is depleted, The World seals himself inside a “Celestial Sphere” to gather energy for his transformation. You can’t damage him during this phase.
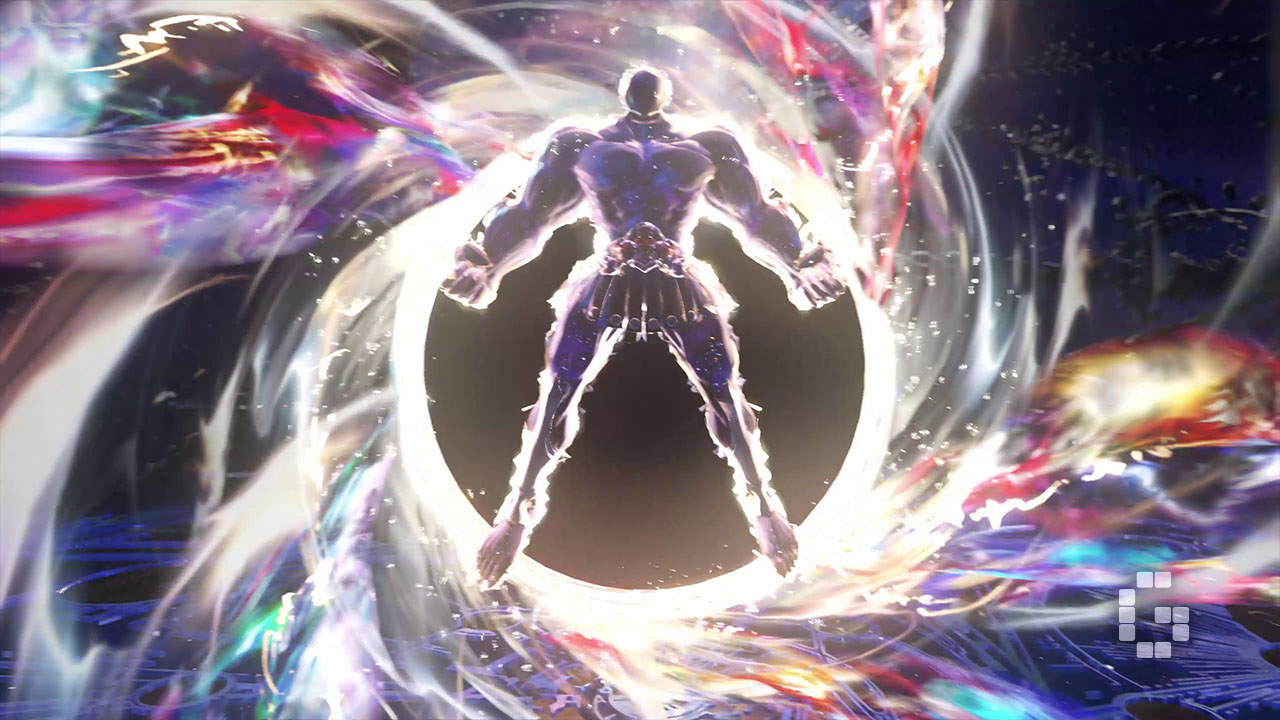
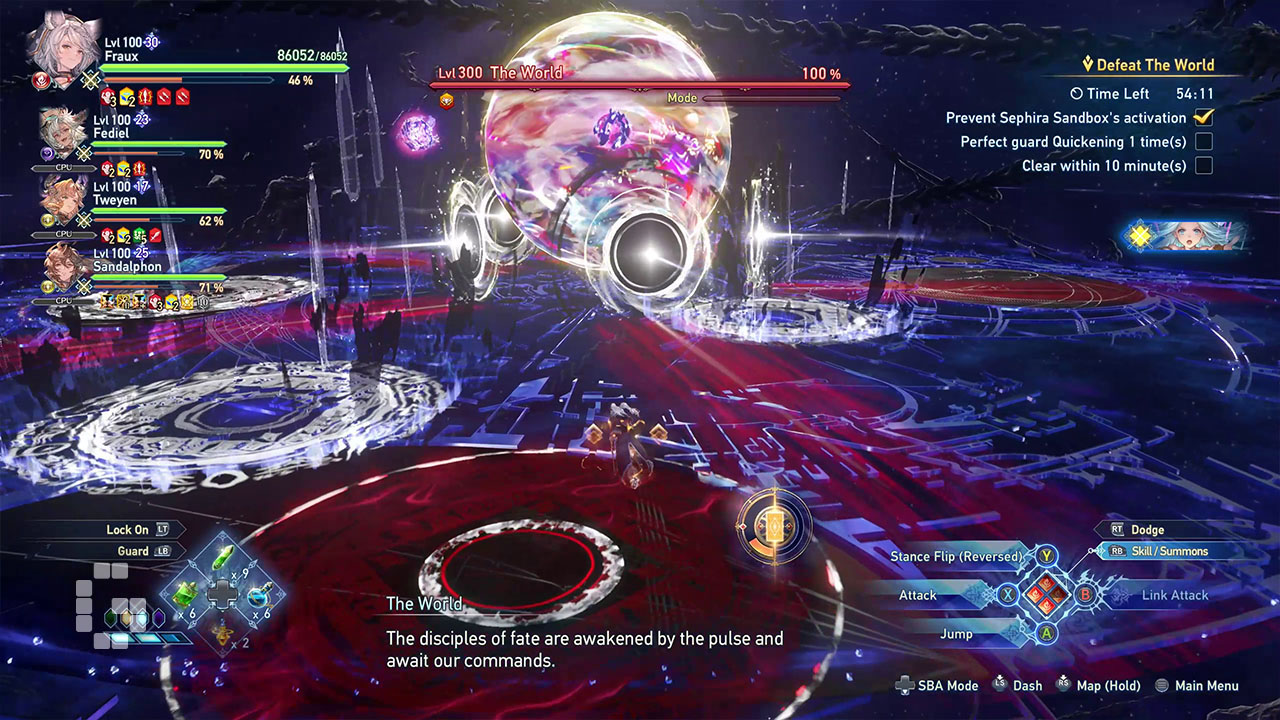
The sphere is surrounded by hazards: flying projectiles, AoE bursts, and large projectiles coming from four directions. Staying alert lets you get through without taking damage, and the phase doesn’t last too long. It ends with an attack that covers almost the whole arena, so you need to get to the far corners to avoid it. Keep guarding during this part too, since the other hazards can still hit you, and the safe space shrinks near the end.
Second Phase
The World emerges from the sphere in a new form with six rainbow colored wings, and this is where the fight gets much harder. He opens with “Invoke Idean,” summoning three Arcana cards in a triangle formation. The cast is fast, so you need to destroy all the cards quickly, since leaving even one up buffs the boss.
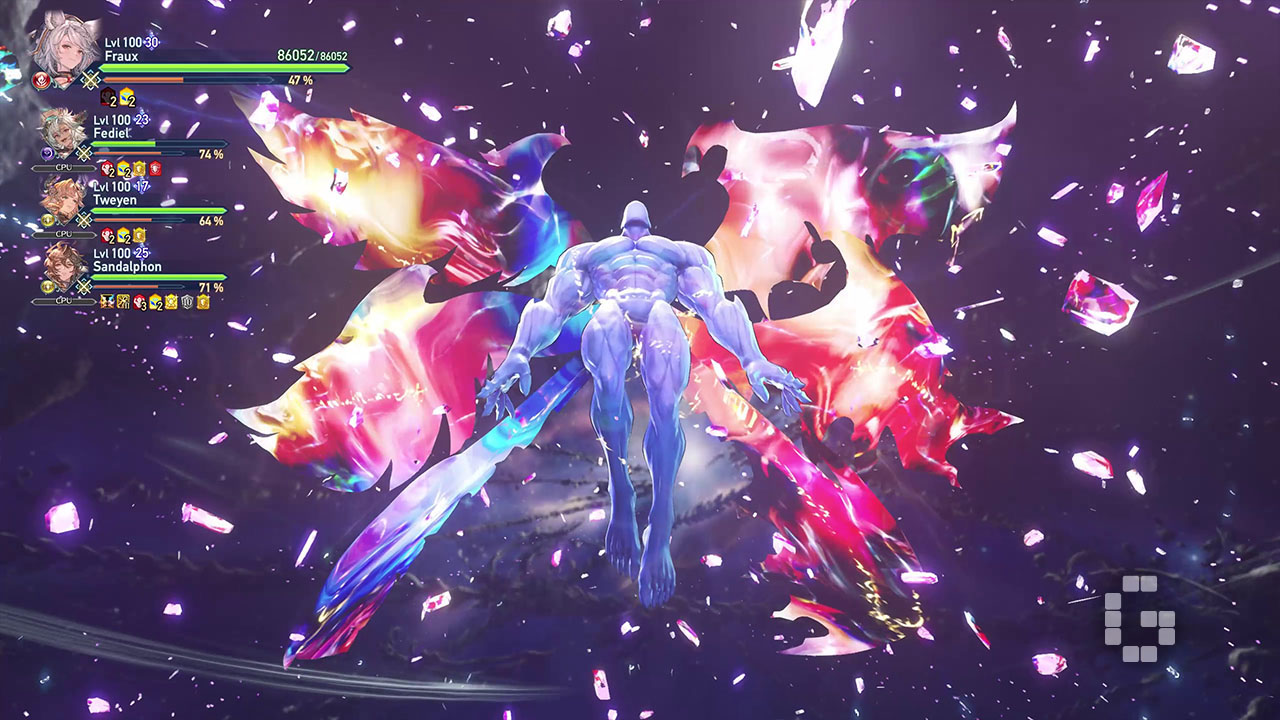
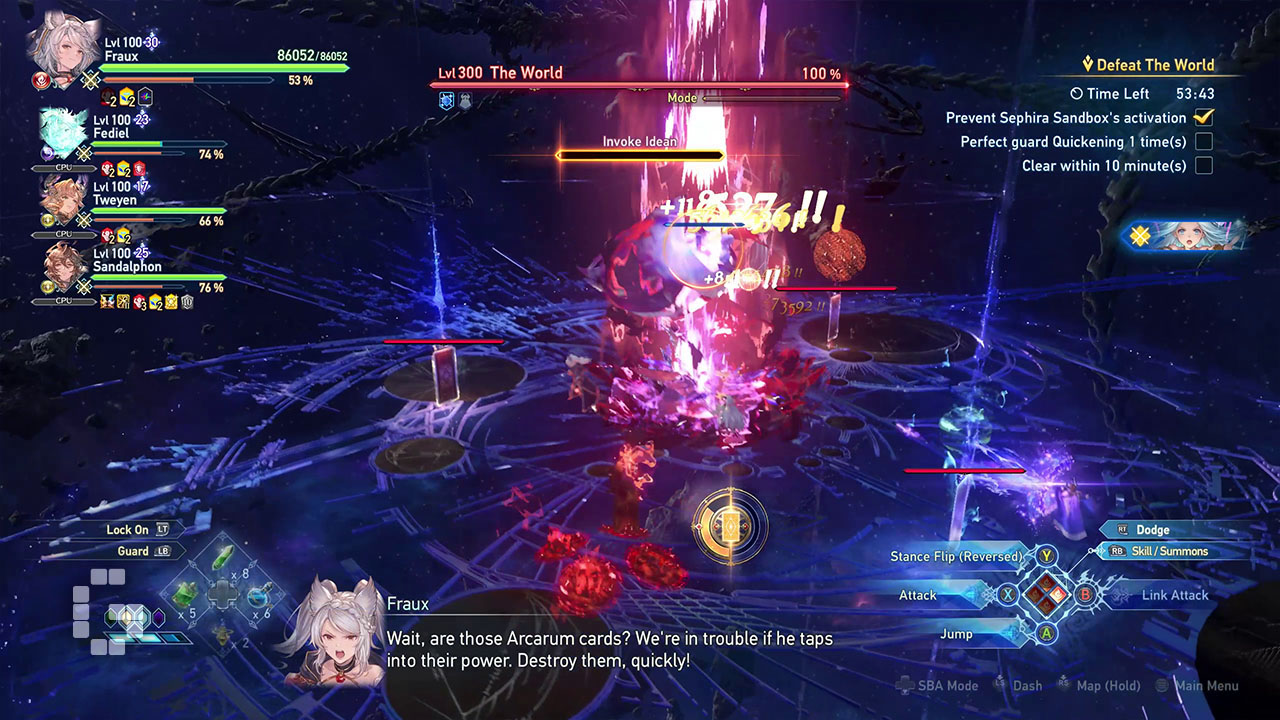
If cards are left up, he can follow with “Melody of Judgement,” filling the arena with bubbles that trap you and lock your movement unless a teammate frees you or you take damage. Which special attack he uses in this phase depends on which cards you failed to destroy.
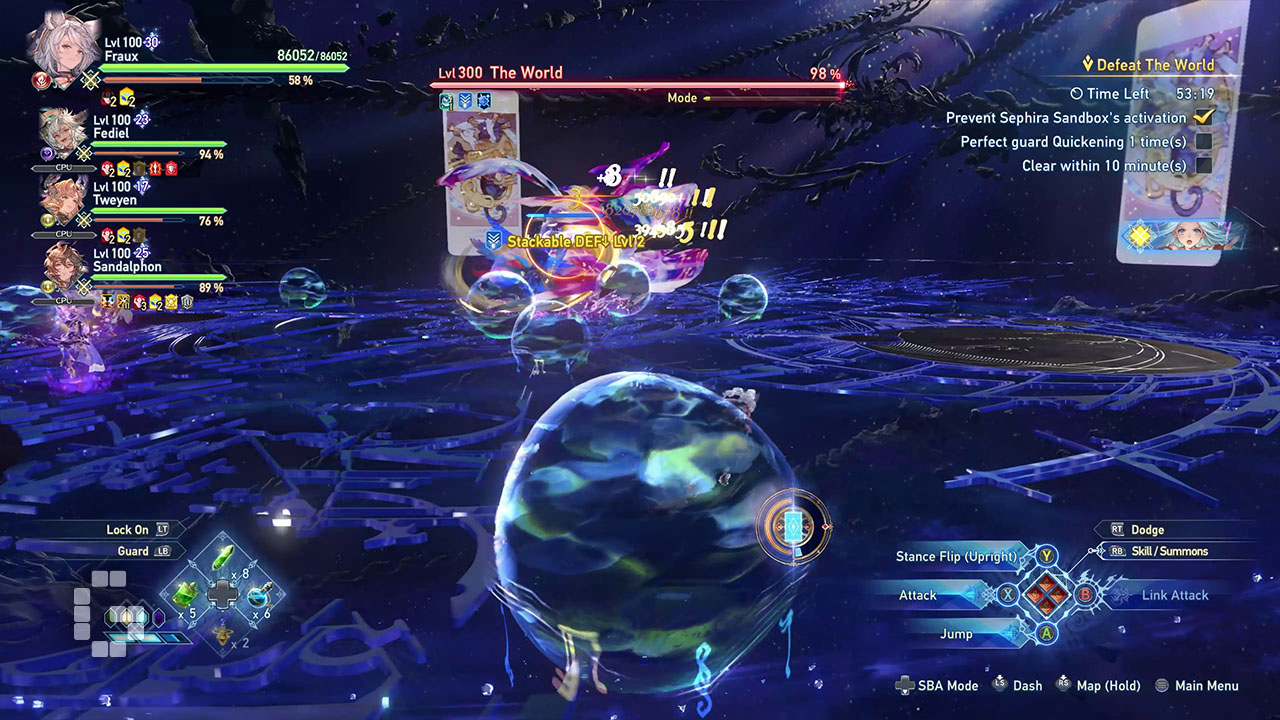
Another dangerous move is “Theater of Temperance,” which can bring you close to death if you’re too aggressive with your positioning. Keeping some distance makes it manageable.
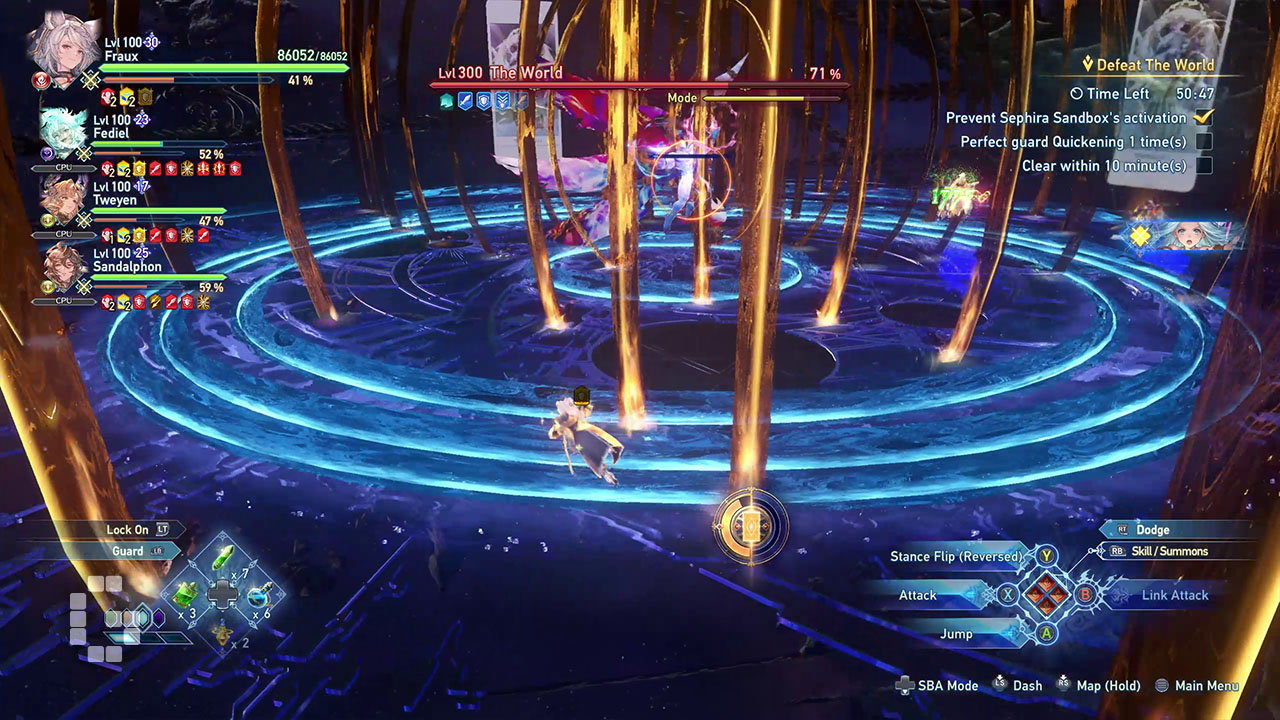
“Heart of The Sun” is a fire attack that rotates in two directions and covers the whole arena. The window to dodge it perfectly is tight, so unless your character has high mobility, you’ll likely need to just tank through part of it.
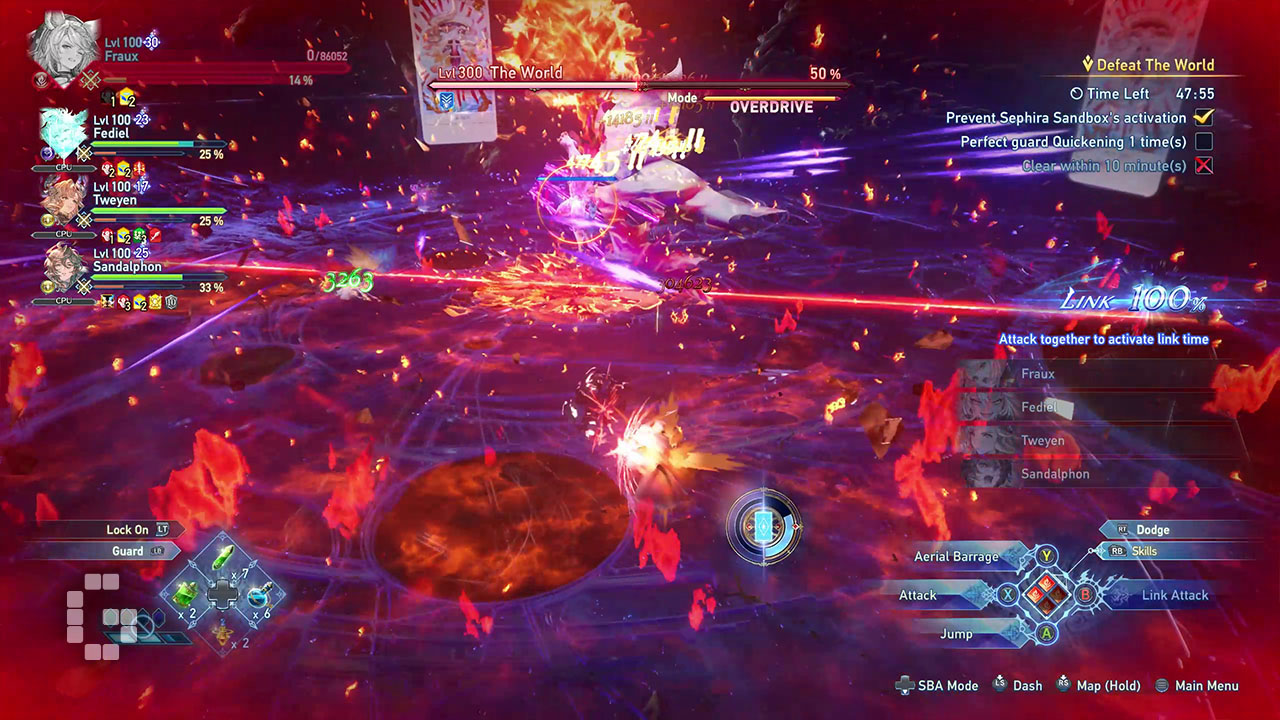
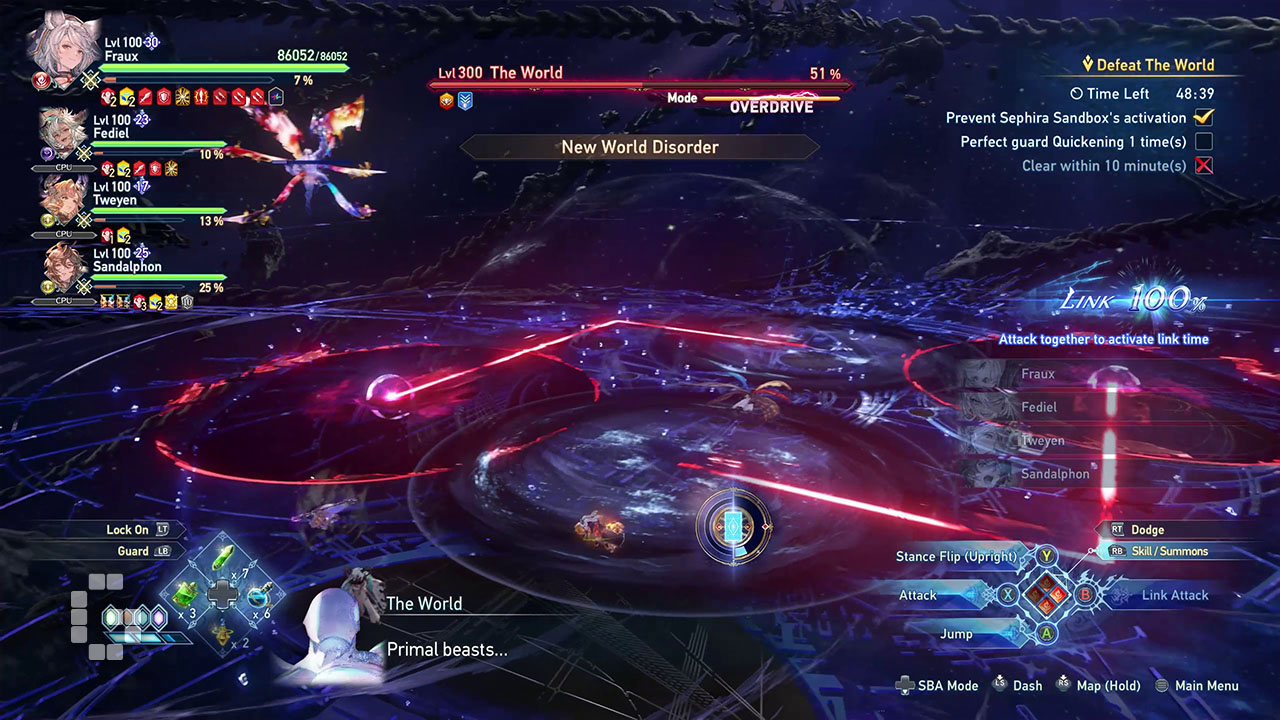
The World also brings back attacks from the first phase, but stronger. Invoke Idean now spawns an extra card, giving you less time to interrupt it, and New World Order becomes “New World Disorder,” which sends out two attacks along separate paths instead of one.
The Final Test
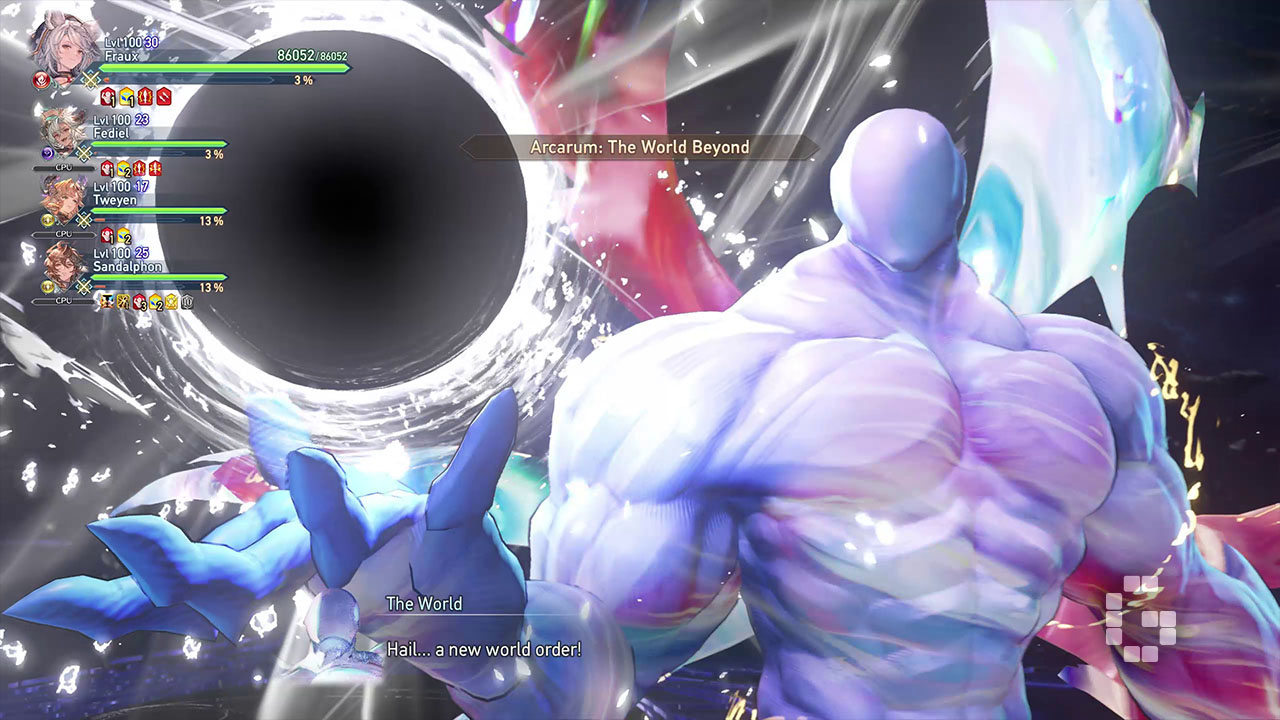
When cornered, The World casts “Arcarum: The World Beyond,” which leads into his strongest attack, “Wheel of Fortune.” Stopping this cast takes real coordination. You need to destroy several Arcana cards, each with its own attack pattern and a large HP pool.
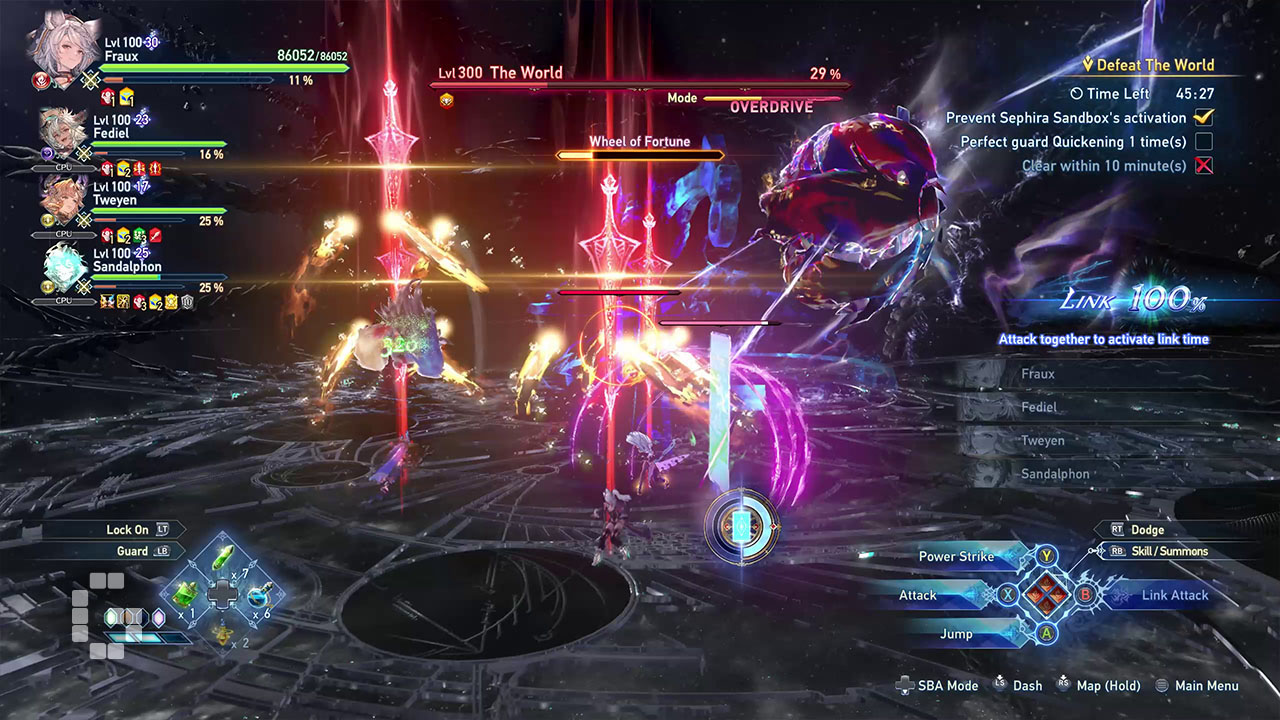
After the first two cards go down, two more appear along with a giant scale. This part requires you to attack both cards at the same time to keep them balanced. If you focus only one card, its defense system triggers: four giant swords appear over each character and attack nonstop. These sword strikes can kill you instantly, so this part needs full attention.
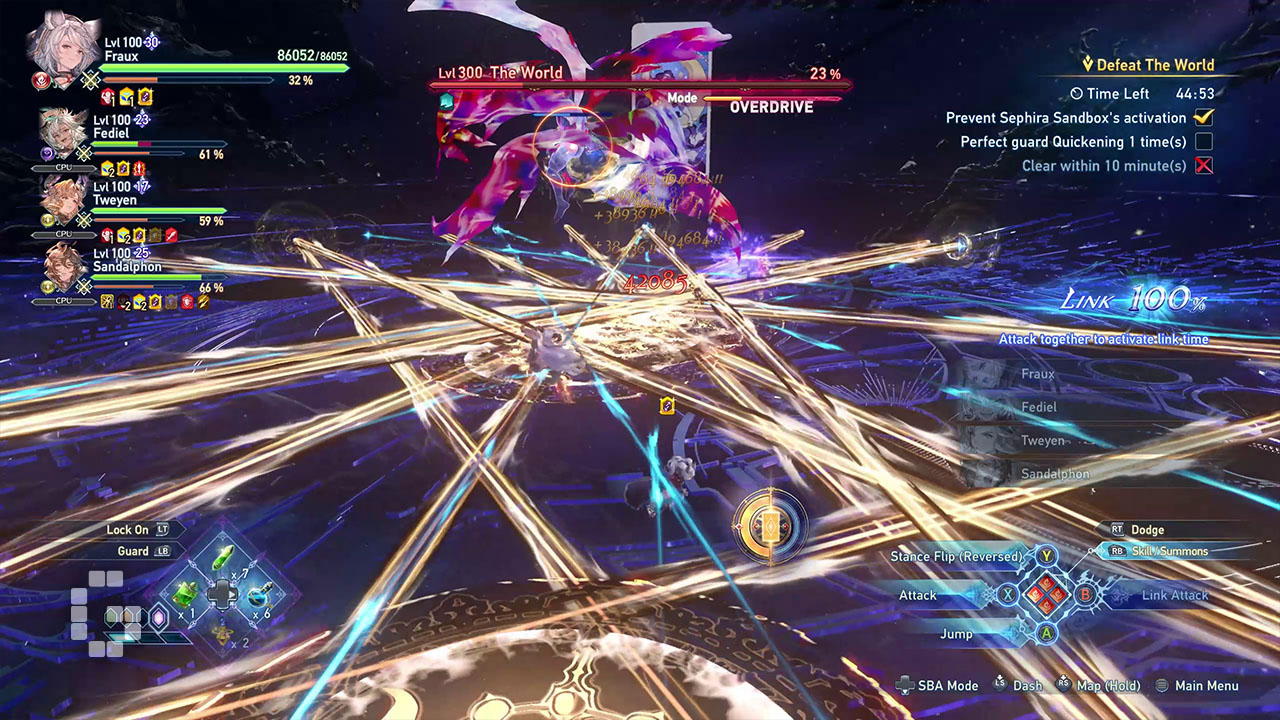
Once those two cards are destroyed, another two appear with their own attacks. This is a good point to use your Summon, since its invincibility lets you clear the cards safely, and you may still have time left to attack The World directly once Wheel of Fortune is stopped. When you get past that section, the rest of the fight becomes more manageable. The World may still use “Reflection of The Moon,” which fires continuous lasers at fixed spots along with ground AoE bursts, but it’s much easier to deal with compared to Heart of The Sun.
From there, it’s mostly about finishing him off. A first clear can take around 17 minutes, though a strong party can go faster. One of the side goals for this quest is beating the fight in under 10 minutes, so keep that in mind if you’re going for full rewards.